Happy Thanksgiving! Here is a quick tutorial for heart nail art. All you'll need is a DIY nail dotting tool from my previous post, and 2 different colored nail polishes! I chose oxblood nail polish (Revlon- 570 VIXEN) for my base color with white hearts on my accent fingers.
Thursday, November 28, 2013
Tuesday, November 26, 2013
BAS(E)ically the Best Manicure
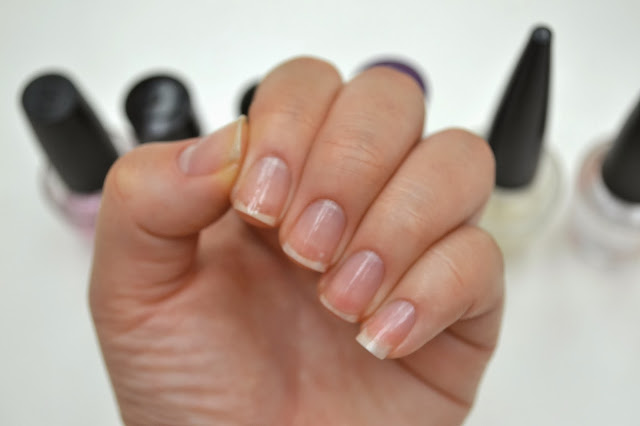
You can't paint your nails without a good base! I love painting my nails, but I love pampering my nails even more. Here is the routine I do before painting my nails. I have all the products linked to where you can purchase them, or similar products to the ones I use.
Nail Art Tools
Before purchasing some dotting tools, I made my own for my manicures with dots. My dotting tools cost $10, while my homemade ones cost nothing because I had all the materials to make them already! Here is the link to the video!
 |
| $10 bought ones |
Tuesday, October 29, 2013
Pink Nails for Breast Cancer Awareness Month

Sunday, October 27, 2013
Glittered Makeup Brush Containers
Wednesday, September 4, 2013
Glitter Galore for Gradient Nails
This is the first of my nail tutorials! I love doing glitter gradients because they are super easy and fast to do! They are really great to add to old manicures when you don't have enough time to do a whole new manicure because they will cover up your tip wear/chips! Here is the video tutorial for them!
Wednesday, August 7, 2013
Megi D's Lemon E Olive Face Scrub
My biggest insecurity is not just the acne on my face. Although my acne has gotten a lot better with a daily regiment, it is the scars that are left behind that I am embarrassed of the most. I have deep pock marks and dark purple scars on my face from my bad acne.
So I created... Megi D's Lemon E Olive Face Scrub!
Megi D's (me) Lemon (juice) (Vitamin) E (Oil) Olive (Oil) face scrub.
So I created... Megi D's Lemon E Olive Face Scrub!
Megi D's (me) Lemon (juice) (Vitamin) E (Oil) Olive (Oil) face scrub.
Wednesday, July 31, 2013
Tags for your Bags
You could use the gift tag already attached to gift bags, but using one of these homemade gift tags is so much more personal. Plus, if you are reusing a gift bag, then most likely the tag is used, so you could use one of these. These are very simple to make, and I had a lot of fun making them!
You can decorate them, then add your name and a message on the back before. You can add these to all your presents!
You can decorate them, then add your name and a message on the back before. You can add these to all your presents!
Thursday, July 11, 2013
T-shirts Blooming with Flowers

This is a very quick and easy DIY, and the result are these adorable flower hair pins.
I got this idea when I wanted to recycle a couple of t-shirts I was about to throw away. I was inspired by a flower clip that I already have. These are really cute to add to buns or to pin your hair back. If any of these instructions are confusing, watch my tutorial video on my Youtube channel diysbymegid, linked here.
Friday, June 21, 2013
Makeup Brush Washer and Dryer
By the title, you might think this a tutorial on how to wash your brushes with your washing machine and dryer... but no, this is a DIY project to make something that you can use to wash your brushes and then use it to dry them, too.
 |
| Not this type of washer and dryer! ;) |
Even though I know it is super important to wash my brushes out, I rarely do, because:
1. I am lazy
2. It takes too long for them to dry, and I don't like doing my makeup with damp brushes.
I came up with this DIY when I saw secretlifeofabionerd's video on Youtube. Here is the link to the video She used a plastic clipboard, but I wanted to have mine hold my brushes for them to be able to dry. Usually when I wash my brushes, which is every couple weeks, at most...I leave them on my counter to dry. With the basket, you can hang it on a hook or shower ring by the handles and put it in a sunny place to dry. This project is super easy to do, and it makes washing your brushes a lot easier.
Subscribe to:
Posts (Atom)

.JPG)


.JPG)


